Image Source: Pixabay
If you like creating hand letters, you may have several tools like pencils, colored pens, rulers, erasers, and so on. But what is truly unique and helpful is a lettering guide. Some of you may be unfamiliar with it. So a lettering guide is a small plastic tool that makes drawing and aligning lines easy. An Ames lettering guide looks like a small spinning wheel and you can easily carry it around in your pocket.
With many holes, spiraling center, and, diagonal columns, the Ames lettering guide may appear a bit weird at first. But it is one of the best tools you can have in your drawing arsenal. It can do what no other tool can do. Hence, it saves time and makes your work even better.
First let’s take a look at what hand lettering is.
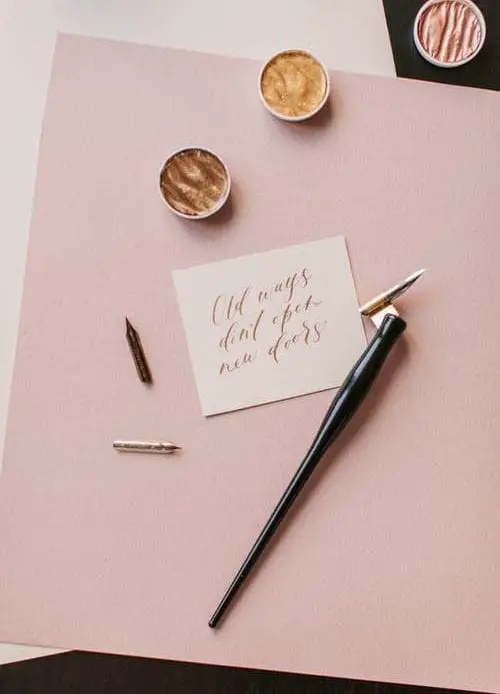
Hand lettering is a type of drawing that creates decorative script of letters. Meanwhile, calligraphy is a type of hand writing when letters are created in a rhythmic manner using a nib pen.
Hand lettering gives you more freedom when it comes to creating fonts and letters. Remember, you can use any type of pen for the creative text of your choice. For this, one may use ball pens, markers, and brush pens. Hand lettering has gained popularity in recent times. For instance, you can find it at weddings, in invitation cards, menus, and any decorative venues. Further, you can also see it on social media posts where words flow gracefully.
Although hand lettering appears difficult at first, it is truly easy to grasp. Besides, you have tools like Ames lettering guide to help you with creation.
Let’s check out its major benefits and understand how to use it properly.
Benefits of using an Ames lettering guide
Simply put, Ames lettering guide makes the job of hand lettering easy. Its uses are not confined to handwriting though. You can use it to help with engineering drawings. All in all, it makes life easy. Check out some of its key benefits below:
· An Ames lettering guide can quickly make equally spaced lines. You can apply this for engineering drawings, artworks, or hand lettering works.
· There are a few holes in the Ames lettering guide. It helps you create equal space. Meanwhile, the rotating circle lets you change and control the height too.
· If you can use it with a t-square, the guide can draw accurate lines with equal spaces. You don’t have to stress over a ruler nor have to position it by eyeballing.
· In projects that need opaque papers, this guide could be a big help. In this case, the lightbox is non-functional. Ames lettering guide can complete the job here too.
· Above all, setting up the guide is a soothing activity in itself. You have to slide the guide along with the paper till you reach your point. The sound may induce relaxation in some and help some people zone out into the world of writing.
· In today’s modern setting of lasers and lightbox tools, there is something unique about the guide that reminds us of the past. It stands for the days when people used to make lines just by hand.
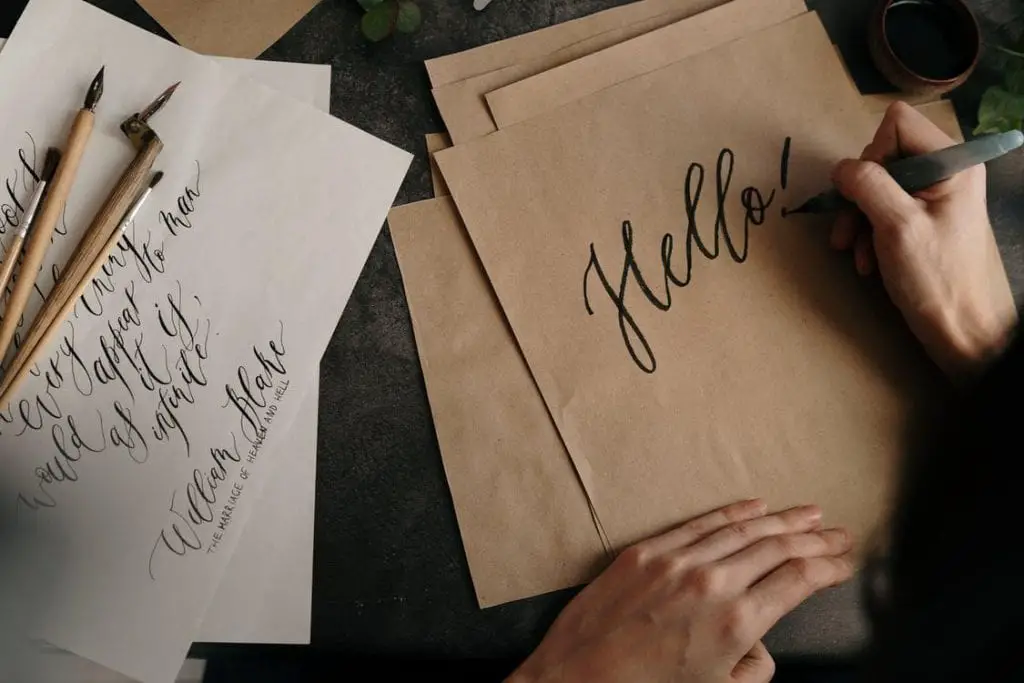
Image source- Pixabay
How to use the Ames lettering guide
The first step to learning to use the Ames lettering guide is understanding all parts of it completely. The first thing that grabs your attention would be the holes in it. There are columns of holes made in different spacing ratios. Caligraphers usually need only two of these columns-the equally spaced ones.
Scales on the Ames lettering guide
Now let’s see how you can use the lettering guide to create perfect lines
The guide has two components-the disk and the body. The bottom is created flat and allows you to align it with a ruler and move from one side to another.
The disk comes with 4 sets of holes within. Each set has a different scale. If you insert a pencil through the hole and slide it versus the ruler, you have a horizontal line. Similarly, if you draw a line by inserting the pencil in every hole of the scale, keeping the ruler steady, you get a couple of parallel lines.
The direction faced by the disc decides the vertical distance between the holes. Further, you will see a 1:1 scale depicted with 3 different orientations. These numbers represent the position of the disk. As the number gets smaller, the lines you draw would be closer to each other.
Remember that there is a total of five scales present on the AMES lettering guide.
There are a few non-adjustable 1/8 inch distant holes over the body of the guide. Plus there are 4 scales over the rotating part. The most commonly used scales are 2:3, 1:1, and 3:5. Out of these, the 1:1 is unlabeled.
1:1 scale: this can create equally spaced lines. The spaces between the lines allow you to choose the ratio between minimum height and interlinear space to include the text of your choice.
The 2:3 and 3:5 scales: these two scales make staggered spaces. You can use them in two different ways.
You will find that arcs pass above the third hole in each case. In case you skip this line while drawing lines, you will have spaces in ratios like 3:5 or 2:3. In other words, you get a small space in minimum height while making a large interlinear space.
By using the optional hole, you can make ascenders and descenders work by using the interlinear space differently.
Using the columns of Ames Lettering Guide
Take a look at how every column of Ames lettering guide helps you.
Column 1: Equal measurements for 1/8 inch. This makes it easy to create headlines. It is also perfectly sized for calligraphy.
Column 2: This column represents a metric measuring system. It is intended for people who follow a different measuring regimen.
Column 3: holes are kept in lower case in this. The low case letters are 3/5 of the capital letters in terms of size.
Column 4: this enables us to create equal spacing. In other words, it is a perfect setting for calligraphers.
Column 5: holes in this column are arranged in such a way that the letters of lowercase form two thirds the size of uppercase letters.
Numbering along with the wheel
Close to the edge of the wheel, you will find 2-10 numbers. These numbers coincide to 1/32 inches of increase in each unit.
Rotate the wheel to match the letter ‘M’ to the ‘8’. This means the size of your letters will be one-fourth of an inch. This is better understood by considering it as 8/32 of one inch.
Note that the guide measures distances for the holes n terms of a complete sized letter. For instance, the space measure for 3 holes given on the count of 8 is equivalent to ¼ of an inch.
Measurements
You may remember your time in school where you practiced writing on ruled pages. There was one line at the top, a dotted one along the middle, and a hard one at the bottom. This tool also measures lines similarly. It allows you to align your paper for calligraphy or hand lettering easily. But, most calligraphers prefer using different measurements based on the script they want to create.
Guidelines for using the Ames lettering guide
Let us take a look at some guidelines for using the Ames lettering guide.
1. First, you need the basic supply of materials. This includes:
· A pencil,
· A T-square
· Ames Lettering Guide
· Tapes and paperclips to arrest the motion of your paper
2. Next, decide how big you intend to make your x-height
Experiment with your own instincts and different needs. Eventually, you will find your perfect size. Use it more often if you are comfortable with it. After you decide, you can rotate your wheel and line it up with the specific number having the M tick mark.
3. ensure that the page is on the same level as the t-square. Now relax the lettering guide along your T-square. After this, align the first hole with the location where you want the lines to begin.
4. Keep a sharp pencil on the hole. Slowly glide the guide and move the pencil to the right side
5. Don’t change the lettering guide or t-square and put the pencil inside the second hole. Slide it to the left side.
6. Do these steps till you arrive at the bottom-most hole. In some cases, you hit the bottom but have more lines to cross. Here, just slide down the guide and the t-square. Put the topmost hole above your bottom-most line. Now you can start where you ended the last section.
7. Put your pencil inside the second hole and draw lines.
Here you go. You have great work in front of you.