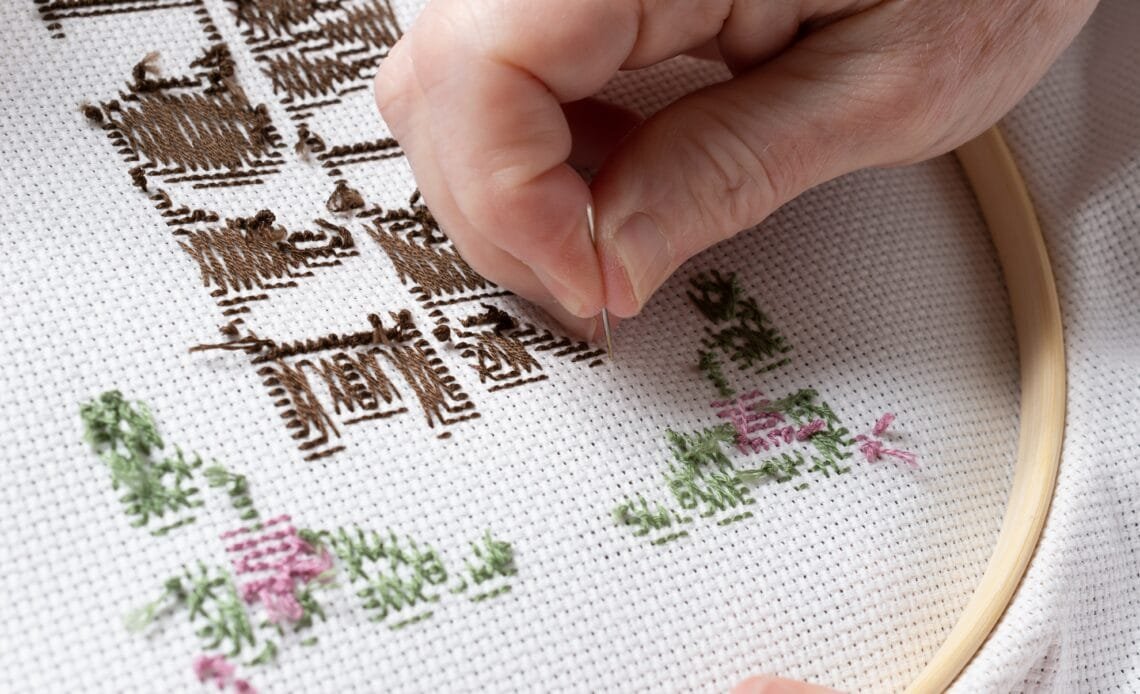
Digitizing fonts for embroidery means taking your embroidery designs from the computer screen and converting them into the machine’s language such that it understands and can sew with. Digitizing fonts can be tedious and time-consuming, but this guide will make the process smooth and enjoyable! When you are done, you will have the perfect font to use on your embroidery machine. Keep reading to learn how to digitize fonts for embroidery.
What you need
When learning how to digitize fonts for embroidery, you will need a few pieces of equipment before you can start digitizing fonts: computer, printer, digitizer tablet and software. The first step is to obtain your font in electronic format – as an EPS or TTF file — usually in TrueType format (all modern software supports it). This means that you’ll need professional graphic designer with access to high-end layout/typesetting tools to create a master proof. If you’re trying to digitize your own font, take advantage of scalable graphics software like Adobe Illustrator or CorelDraw. Then print out a copy on paper using a laser printer. Scan it into your computer, enlarge slightly and save in vector form. Vector files are infinitely scalable without any loss of resolution or jagged edges, so they will never pixellate even at extremely large sizes.
How does digitizing a font work?
Digitizing a font for embroidery is easier than you think. All you need is your sketch, digitizing software and an embroidery machine. A basic knowledge of using these three tools will help you design embroidered text with ease. As a bonus, it will help you get acquainted with complex programs like CorelDraw or Illustrator before doing any advanced design work.
So what exactly do we mean by digitizing a font? Well, let us look at an example. You have designed an amazing logo in Photoshop that looks great on screen but is not working well on fabric. It does not come out correctly because Photoshop knows nothing about stitching space in embroidery files! You do not have time to switch to another program so you decide to try something else instead: scanning your artwork as raster (pixel) images. This way it will not matter if there are many colors. Your program sees every color as one pixel and simply stitches them together.
Broadly, there are two steps involved in digitizing a font for embroidery: converting a bitmap image into vector graphics, and then creating stitches based on those graphics. The first step involves using vector graphics editor such as CorelDraw or Adobe Illustrator to create coordinates where each stitch should be placed. Let us look at both methods in detail. Converting Bitmap Images to Vector Graphics We mentioned above that your designs may not appear properly on fabric because Photoshop knows nothing about stitching space in embroidery files. That means its coordinate system needs to be redefined and applied to our designs if we want them to print accurately.
Where to find good fonts
Google Fonts, Adobe Typekit. All fonts are free but you will need to register an account. Using open source fonts such as those from Google or Adobe are great. This is because you do not have to pay and do not need a license for commercial use! There is no guarantee that these sources will always have a font you are looking for though. Digitizing your own fonts for use on your embroidery machine can save you hundreds of dollars in copyright licensing fees each year and make your designs come alive with amazing detail.
You can also try a font site like MyFonts or Fontshop. They have tons of free options that are compatible with commercial machines and your home computer. It is possible that you already have a few hundred great font options on your computer! If you are starting out and do not have any good free options, pay close attention to each site’s license details. Most of them offer their services on trial period so you can try them out before making a purchase.
Downloading the font
You will need to download and install a font on your computer to digitize fonts for embroidery. There are many types of fonts available, with varying styles and uses. If you are learning how to digitize fonts for embroidery, try searching Google or Pinterest for cursive font or script font. You can use these in place of traditional fonts. Click through some of these results to find a style that you like. Then download it with three easy steps: 1) Double-click on the font’s name; 2) Select Install; 3) Click OK. This process is similar if you have Microsoft Office installed. Click File, then click Add Fonts. Follow these same steps when choosing where you want to save your downloaded font, too!
Converting .ttf to .dst
While working on how to digitize fonts for embroidery, you will need to convert your .ttf file into a .dst file. There are two ways you can do so. 1) If your computer has a CD/DVD drive, you can burn a .iso image of Windows 7 and install it on a virtual machine. 2) If your computer does not have a CD/DVD drive, download Rufus and follow its instructions. When done with either method, insert your USB flash drive into your computer and format it as FAT32.
You should then be able to copy over all your .ttf files using Windows Explorer (there should be no issues renaming them from one extension to another). If you still experience issues when copying over these files, try running chkdsk /r c: (assuming c: is your USB flash drive) in an admin command prompt window. This will check for any corruption of your USB flash drive and fix it automatically.

Why is it better than hand-drawing my design?
Digitizing your font into a format that is compatible with your embroidery machine will make it easier and more efficient to create. When designing by hand, you must draw out each letter and ensure that it is legible. Digitizing removes all those extra steps because a software program does all that work for you. Be sure to save your design as a .dst file when you are done. (Don’t use .ai or .eps). This way, you can print out your design as many times as needed without having to re-digitize anything. Therefore, learning how to digitize fonts for embroidery can benefit you in more ways than you thought!
Common errors while digitizing
Digitizing is a complicated process. Being mindful of common errors would help immensely in your efforts to learn how to digitize fonts for embroidery. When digitizing, there are many options and changes that can be made. Making one wrong choice in any of these areas could ruin your project and ultimately waste time, effort, money and cause delays in production. We have listed some common errors with digitizing so you can avoid them all together.
Here are a few common errors you should watch out for when digitizing.
- Incorrect file saving/formatting: The most important thing in digitizing will always be making sure that you save your file correctly. Or at least try to put it into a format that will allow it to be saved correctly on its own. Unfortunately, not everyone knows how or takes the time. Make sure you know what you’re doing and that everything is being done right by following best practices.
- File upload issues: Another common error with digitizing comes from uploading files and getting information into programs like InDesign correctly. If you are not sure about something, ask before moving forward. Things not being formatted correctly, or some features not being turned on (like autofill), can cause mistakes to occur after your first round of edits.
- Fonts: One aspect of digitizing that no one wants to talk about but everyone needs to be talking about is font selection. And making sure they do not get used in a way where they should not be used. Always make sure you have permission to use each individual font. Maybe it does not matter if you use someone else’s name instead of yours. But it matters when using their logo or company name!
- Rights on images: A related problem to fonts is rights on images. Again, an image might say your name or business name across an image instead of a whole word. However, this requires permission from whoever owns that specific image! It does not sound too bad until you realize exactly how fast one small mistake or oversight could cost thousands of dollars over a few hours due to production alone.
- Spelling: Probably less vital than fonts or images, spell checking does seem like it should go without saying. There are plenty of misspellings and grammar issues out there. As anyone who has worked on anything at all in digital media can tell you! These can make things stand out when trying to show professionalism.