Have you ever wondered if it is your bad handwriting that hinders you from achieving your professional best? Felt envious of your artsy friend who could write beautiful scripts? Ever wanted to learn calligraphy but weren’t sure where to begin? Worry not! To make it easier for you to understand, we break down the most important steps needed on the journey to teach yourself calligraphy.
Start with the basics. What is calligraphy? Can you teach it yourself?
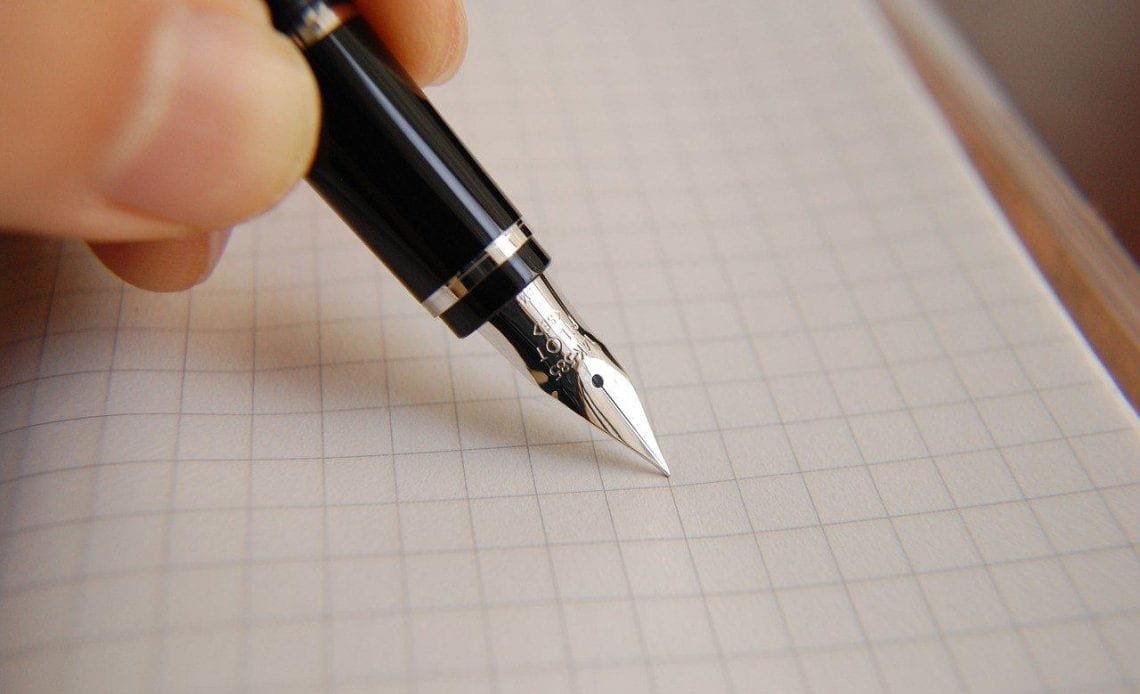
Calligraphy is an ancient visual art centered around letter forms and symbols and related to the art of writing. Simply speaking, it is the art of beautiful handwriting. It first appeared in the Latin script in 600 B.C.E. in Rome and died down with the invention of the printing press. There was a resurgence in its popularity from the 19th century onwards due to interests of calligraphy enthusiasts all across the world. Today, calligraphy is mostly seen in digital fonts and is most popularly used for designing wedding invitations, diplomas and commercial signs. The traditional form of handwritten calligraphy is also increasingly gaining popularity with those drawn to its personalized touch of hand lettering appeal.
To teach yourself calligraphy is a rewarding journey. Not only do you learn a highly specialized skill, the slow process of learning can also have a calming affect in a fast-paced anxiety filled modern world. Learning calligraphy also teaches you to be extremely focussed as you need to notice the small details. Despite it being a tough art to master, with the right amount of self-discipline, motivation and online resources and tools you can successfully teach yourself calligraphy.
Here are some things to keep in mind before you begin your calligraphy journey.
- Patience is key to learning calligraphy. Beautiful art takes time to perfect and since calligraphy is a specialized skill, the more amount of time and practice the better the results. Set aside time to practice every day. A minimum of 30-45 minutes daily is recommended.
- Learn the BASICS first. You may have been inspired by an Instagram account to begin calligraphy and it is alright to begin by copying their work, lettering styles as practice. But copying is not the same as learning and will not result in the desired results. It is important to teach yourself the basic brush strokes at the very beginning to be able to later create your own signature style. To help you do this HappyEverCrafter offers a free course that will take you through the basics of calligraphy.
- Knowing basic cursive matters. While you don’t need a good handwriting to learn calligraphy, brushing up on basic cursive will help you with learning the more complex calligraphy lettering. So take out those cursive practice books you used in your childhood and get to practicing your loops.
- Invest in the right tools. To begin with, it is okay to practice with the basic ball pen, crayon and pencil. But as you go along it is important to invest in the right supplies for best results.
- Connect with the online calligraphy community for tips, tricks and inspiration to keep going. There are several fellow calligraphers on various stages of their calligraphy journey who can be found on their Instagram and YouTube pages.
I’m on a budget. How do I teach myself calligraphy?
There are several free and paid online video tutorials to help you get started in your way to becoming a calligraphy artist:
- For beginners, The Postman’s Knock Learn Calligraphy Worksheet is a great place to start. TPK offers video tutorials and calligraphy worksheets priced between $5 to $35 for you to practice on with a dip pen. The best part about making this purchase is that you can print as many of worksheets as you like, helping you practice better.
- Those able to invest more should check out Laura Hooper Calligraphy Online Video Tutorial which offers complete packages designed for your skill level. We suggest the Beginner Calligraphy Kit as it includes tools, an instructional book and video tutorial to guide you through how to teach yourself calligraphy.
Skillshare also offers free and paid courses where you can learn various forms of modern and traditional calligraphy. Here you can not only learn the foundations of calligraphy but as you progress help you find your personal script style. Plus if you sign up, you can try out their Premium features free for a week!
Mariah a self-taught graphic designer from Milwaukee in Wisconsin has a useful guide outlining the steps of her teach yourself calligraphy journey.
Last, but never the least, YouTube has a large repository of free Calligraphy tutorials. While the above courses save beginners the time taken to research the same, YouTube offers many video tutorials by calligraphy enthusiasts and professionals alike suited for those not looking to spend. Calligrascape, Amanda Lee, Pieces Calligraphy, Smart Calligraphy are a few popular channels to help you get started on your calligraphy journey.
These books are handy guides for those looking to teach themselves calligraphy.
- The Ultimate Guide to Modern Calligraphy and Hand Lettering for Beginners: This book offers an easy guide to modern calligraphy and hand lettering. It contains drill worksheets to practice your strokes and is a must-have beginner guide for amateur calligraphy enthusiasts.
- The Calligrapher’s Bible: 100 Complete Alphabets and How to Draw Them: Author David Harris offers this easy-to-use self-teaching book. Packed with sound basic instructions, lessons on how to write correct pen strokes and tips this is a book for both hobbyists and students of design alike.
- Modern Calligraphy: Everything You Need to Know to Get Started in Script Calligraphy: Award-winning wedding invitation designer and calligrapher Molly Suber Thorpe teaches her readers how to master modern letter forms. From using pointed ink and pen to watercolour and gauche and learning to digitize their calligraphy the author covers it all.
Confused about what calligraphy tools to use? We’ve got you covered.
Most beginners opt to use a regular pencil, crayon or ink pen to teach themselves calligraphy. The more invested in the process you are, you may wish to invest in specific calligraphy supplies. The market is flooded with a variety of options and it can be difficult to choose.
Here’s a list of essential supplies that we think would suit all your calligraphy needs.
- Nibs: The most essential part of your calligraphy supplies. They are responsible for the flourishes and loops you wish to see in your lettering. Nikko G Nibs are highly recommended for beginners. Others include products from the Brause brand’s EF66, Rose and Cito Fein.
- Straight Pen: Nibs go in straight pen holders. The priority here is to find something comfortable to hold as you write. Brause, Tachikawa and Speedball are trusted nib pen holders in the market currently.
- Ink: Using rich, black ink like this Japanese Sumi Ink is recommended.
- Paper: Choosing the right paper type will go a long way in your calligraphy practice period. You want paper that’s light and yet doesn’t compromise hinder your writing by the ink bleeding through it. Pick something like Strathmore’s calligraphy pad which provides an ideal, durable surface for all your smooth ink flow needs.
Special mention
In case you prefer to buy complete starter kits instead of individual bits the STAEDTLER calligraphy set and Sheaffer Calligraphy Maxi Kit are a good investment.
If you begin to lack inspiration during the process, it is important to remember the following things:
- Connect with other calligraphy enthusiasts on social media sites like Instagram and Facebook groups. Talking to fellow calligraphy enthusiasts will help keep the creative spark alive.
- Follow calligraphy artists online only for creative inspiration. Do not compare your progress to theirs.
- Experiment with different methods and techniques. Try using different inks and paints.
- Trust in the process. Begin with the basics and then proceed to short sentences and eventually you’ll be able to write a long calligraphic piece.
At the end the only thing that matters is Practice! Practice! And more Practice!
Now that you have all the information you need to teach yourself the art of calligraphy the only thing you need to focus on is to practice writing the calligraphic lettering regularly. Do not get frustrated with the slow process. Remember to be patient throughout the beginner’s learning curve. Once you get the hang of it you will be able to write faster!
Keep in mind that calligraphy is not that hard to learn. The real challenge lies in mastering it. Writing calligraphy is not the same as writing in your regular cursive handwriting, each loop and style needs to be outlined carefully and slowly to achieve maximum success. It is a craft that both requires and teaches you patience. For some, mastering a certain font can take many months or years. The upside is there is no end to your ability to teach yourself calligraphy. With millions of fonts and techniques to choose from and master it is a hobby that can keep you occupied for years.