Traditional calligraphy involved the use of pen, specialized ink, and paper. A small mistake could send the entire piece to trash. However, with digital calligraphy, this is not even an option. Now you can make an infinite number of edits, corrections, and changes, based on your need.
Today, numerous software enables digital calligraphy, with Adobe Photoshop being among the best tools out there. Using the Photoshop brush tool, you can create calligraphy pieces that can compete and even exceed the levels of handwritten calligraphy. This article will help you understand how to create digital calligraphy with Photoshop.
Photoshop and calligraphy
Calligraphy is an art form that has evolved over thousands of years. With the advent of the digital age, its scope has widened infinitely. Photoshop offers a great platform for this. You can put Photoshop to proper use and bring out truly amazing work through digital calligraphy.
Adobe Photoshop is an important platform for graphic professionals. It is not behind in terms of calligraphy either and offers plenty of options in the same. For instance, the built-in preset brush in Photoshop is a versatile tool. It offers many creative ways to digitally put your pen to paper.
The Photoshop calligraphy brush or the brush tool is the go-to tool for a calligrapher. It lets you choose from a multitude of preferences within the tool. Most of them are free and gives you the freedom to include layers. This lets you blend multiple layers and explore effects that would be impossible to do with physical media.
Besides, it allows you to employ several features at once. For instance, you can evoke the impact of different inks using brush settings. You can burn the lines, sharpen images, and include other special effects. Apply filters at your will and make your writing look impactful, all using Photoshop.
Let’s take a deeper look at the most important tool in the calligrapher’s arsenal -the Photoshop calligraphy brush.
What is a Photoshop Brush?
The Adobe Photoshop brush is preset, which lets you make changes to the shape and stroke of lines. It is the tool meant for painting within the Photoshop software. In other words, it does what ink can do to a canvas.
Brushes have multiple uses. For instance, you can use them to bring a custom design to reality, create calligraphy art, or draw a digital painting. You can also bring other artistic elements to life, such as branding elements, graphics, or palettes.
The Photoshop brush lets you create lines, designs, and patterns with varying texture. To help you out, Adobe Photoshop arrives with preset brushes. It includes basic styles like round, dry media, special effects, and wet media. Further, you can download many more brushes, depending on your need.
Installing a Photoshop Brush
Photoshop has preset brushes already installed. In case you want to install new brushes, it is an easy process. Here’s how you can install Photoshop brushes:
· Choose the file you want to install and unzip it
· Place the file at a similar location as other brushes. Usually, they are situated inside the Photoshop> Presets> Brushes. To confirm the proper location of the files, look for ‘.abr’ at the end of the file name.
· Open Adobe Photoshop and include brushes by clicking on the Edit menu, then Presets, and click Presets manager.
· Lastly, select ‘Load’ and reach the new brush before opening it.
· You also have the option of installing a complete folder of presets together by importing the presets function.
Photoshop calligraphy brush and its characteristics
Brushes are your go-to tool if you are looking to get started with digital calligraphy. They are extremely useful and offer a bunch of features that complement calligraphy. However, like any other tool, it takes practice to master it. Learning some of its basics would come in handy once you start working and creating your digital handwriting.
Once you have decided the brush you want to use, get your design on the canvas by clicking the mouse in different ways. Single clicks will register single points. For continuous lines or patterns, you have to double-click on your mouse and drag it in the direction you want to make handwriting or art.
The basic parameters include mode, size, opacity, and flow of the brush. You will find these options on the top toolbar after you pick the brush option. For those familiar with these options, you can explore the advanced tools by getting into the brush panel located towards the right of the Photoshop window. With some experimentation combined with dedicated practice, you can become an expert at digital calligraphy.
Step-by-step direction to create digital calligraphy with Photoshop
You can customize the Photoshop brush to do hand lettering and calligraphy. This is a straightforward method to create your favorite handcrafted designs and writings to fit your needs.
· First, open a new file in Photoshop and click the Photoshop brush tool. It is located on the side of your Photoshop desktop.
· Next, create a new layer. Ensure you create a new layer every time you use the brush tool.
· You have to make sure the color mode is normal. This is visible to the top of your window. Right next to the mode, you will find Opacity. Ensure you keep it 100%. Also, bring Flow to 100%.
· Let us consider using the hard brush for calligraphy. To put Photoshop calligraphy brush to use, go to windows from the topmost toolbar. From the drop-down that appears, select brush.
· A small window will pop up within the Photoshop window. Several options in this window will help you customize what you will create using the brush.
· You can find soft brushes and hard brushes within the tiny window with hundreds of different brush options. You will find brushes with less hard imprints and those with bold imprints. The latter falls into the hard brush category. Besides, you can also control the hardness of your brush by changing the percentage of hardness below where the brushes are displayed. Keep it 100% for a normal hard brush for calligraphy.
· Select a brush, preferably a hard brush, for more impactful calligraphy. Next, adjust the size of your brush on the Size bar right below the display of brushes. Keep it small if you want smaller written words and change it to the larger side if you want thicker letters in your calligraphy.
· Next come the angle and roundness of the brush. These two make a big difference in your output so make sure you customize it according to your needs. You will find small boxes where Angle and Roundness are mentioned. You can enter the figures here, or you can manually decide the shape of your brush. For this, you have to change the shape of the circle drawn to the side of these boxes.
· Grab a node on this circle and tilt or twist it until you get the shape you desire. The simultaneous readings of its angle and roundness will appear in the boxes to its left. See the preview given in the bottom left corner of the brush window to understand exactly how it would look for real.
· Once you have the shape exactly how you like it, choose a color for your Photoshop calligraphy brush you have created.
· Now, go ahead and create calligraphy of your choice on the layer you have created. You can save it once you are finished and use it for your intended purpose.
Do you need additional devices for calligraphy using photoshop?
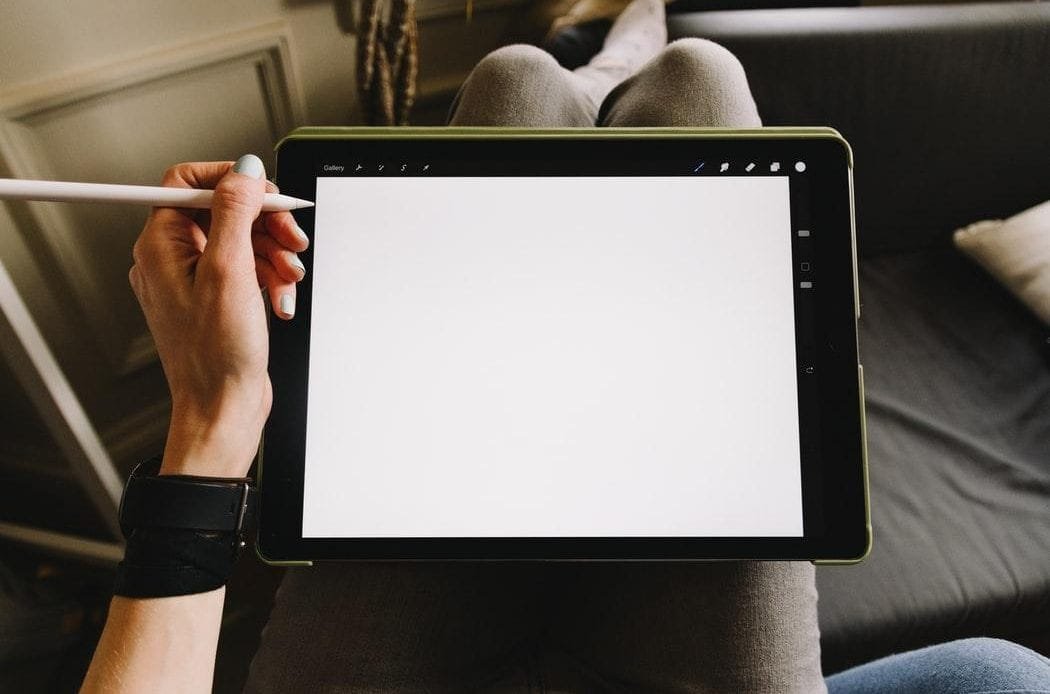
Calligraphy, like any other art form, deserves specialized care. However, it is extremely difficult to pay such close attention when using a desktop or laptop. It is highly recommended to use a device to do calligraphy. For instance, a tablet works perfectly for calligraphy practices. Smartphones and tablets are not as versatile as drawing tablets. But they also come in handy when you carry out calligraphy. Let us take a detailed look at both of these options.
Drawing tablets
Drawing tablets are devices that may not have a screen. These are specially made for natural handwriting and drawing. The best part about using tablets is that you get immense control over what you are trying to draw. Several brands offer drawing tablets nowadays. Some of them have a touch screen, while others don’t. Either way, you can use your Photoshop calligraphy brush and bring out your best calligraphy work.
Smartphones and tablets
As you know, tablets and smartphones have touch screens. When provided with a feature like a stylus pen, they become excellent tools for calligraphy. For beginners, these tools work great as they enable an easy transition from the physical to the digital interphase.
Conclusion
If you are someone with a passion for calligraphy but refrained from pursuing it for any reason, this is a great time to start. With flexible and handy tools like Photoshop calligraphy brush, you can learn, explore, and excel at the craft. Use the above tips and put this amazing tool to proper use.