Sometimes it is best to get back to basics so that you can master certain things and calligraphy is no exception to this rule. As you advance as a calligrapher, you will notice that your development curve is not as steep as the learning curve.
You will be disheartened but fear now we have compiled a list of ways that answer the question of how to use calligraphy pen.
We will be covering
- The materials needed
- Proper way of holding the pen
- Guidelines
- Basic Strokes and Construction
- Letterforms
- Resources
Materials
Here is a list of things you need but, more importantly, the proper way of taking care of them.
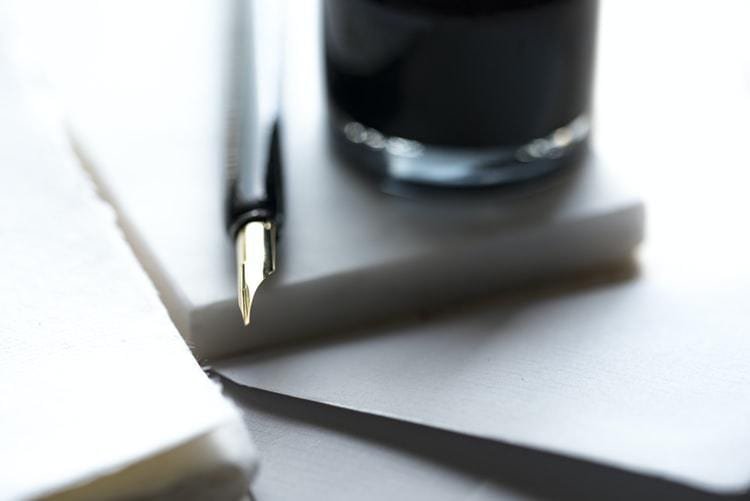
Nibs
While the perfect nob for you might come with a lot of trial and error, it is important to at least familiarize yourself with the types of nibs that are available to you. We would suggest you try as many nibs as possible and below are a few that are perfect for beginners.
Nikko/Zebra G – These nibs are not too soft or not too hard and serve as an excellent starting point for finding your preference. Their stiffness also grants the user better control and this helps immensely if you are new.
Hunt 101 – A flexible nib with a point these are great if you are looking for less resistance. The flexibility leads to the thick down strokes and the sharp point lets you do fine hairlines.
The hairlines are very important as it looks good in contrast to the thicker strokes. All this can be achieved by one pen, which makes it really impressive.
Hunt 22 – Slightly softer than the G nibs, the Hunt 22 is a just a little less resistant than its Zebra counterpart.
If you can get a hold of some vintage nibs, we would highly suggest that too.
Some of the vintage nibs we recommend are
Blanzy 2552 – It has a sharp tip that is immune to snag or drag on the paper. Even with such qualities, it is still soft enough to create contrasts between your thin and thick strokes.
Henry 605 – This has an odd shape yet still is functional. It has a huge ink receive, which means you can work for a longer time without worrying about dipping your pen in the ink.
How to break in new Calligraphy Nibs
Breaking in is the process of preparing your nibs before you actually start using them. For this, you need to take off the oil coating that the manufacturer has put on the nib.
The oil forms a protective layer over the nib to prevent rusting. Before you even think of dipping your pen in ink it is necessary to clean this oil layer off. It is very essential and failure to do so will lead to oil and ink being mixed. Due to the oily layer, the ink won’t stay on the nib for long and will make it impossible to use the nib.
Here are a few ways to remove the oil from the nib
1. Rubbing alcohol/Acetone
With a cotton swab or a clean cloth, rub some alcohol or acetone on the nob. This should clean off the oil layer and make your pen ready for use.
2. Toothpaste
Apply a bit of paste on your toothbrush and gently scrub both sides of the nib. You need to gentle while scrubbing so that you do not damage the nib in any way.
Once the scrubbing part is done, rinse it under water and dry it off with a paper towel or a clean rag.
3. Potato
Yup, you read that right. Putting your nib in a potato is a great way to get rid of the protective oil layer on your nib. Stick the nib in a potato and leave it for 15-20 min. Do not stick the whole nib as it will be harder to pull it out.
After 15-20 minutes, you will have a nib that is ready to take you on an artistic adventure.
Pen Holders
Mainly these are of two types
- Straight
- Oblique
The oblique holder places your nib at an angle and makes it easy for your neck and shoulder if you work for many hours straight. The straight holder is like a pen.
Make sure your working setup, that is, the table and chair, are comfortable as you will be spending a lot of time on them.
Paper
The normal paper could work but only if it is bleed proof. It is best suited for practice only. Rhodia paper has the best paper quality and if you can afford a whole pad I would suggest getting it from the very beginning. While selecting the pads make sure that:
- The ink doesn’t bleed
- The surface is extremely smooth so that there is no snag or drag while you practice.
- You will have an option to select either a blank sheet, lined, or dot grids. You should get the lined ones when you start.
Research all the different types of paper available in the market and make sure that you try them out too. Paper is also a very subjective choice and one must spend a considerable time on them.
Ink
There are a lot of inks available in it best that you keep in mind how dense you want the shade to be or how
A few types are
- Sumi Ink
- Gouache
- Winston Ink
The viscosity also plays a vital role in how you craft the strokes and how much density you are looking for in the color. It takes a fair bit of trial and error before you will be able to finalize your preference.
Proper way of holding the pen
It is one of the most crucial aspects of how to use calligraphy pen and can easily be the toughest nut to crack too. The short answer is that you hold it like a pen.
But as you progress as a calligrapher, you will notice a few things like the nib is less included than the body of the pen. This prevents snagging and dragging especially during upstrokes.

Guidelines
You should use guidelines while staring out. This helps you in developing the right muscle memory and how one should go ahead. A strong foundation makes the progress very easy.
You should know about the baseline, descender and ascender.
Basic Strokes
Basic strokes make for the building blocks of calligraphy.
Under turn – One does an under turn by applying pressure on the nib while doing a down stroke and release the pressure progressively while doing an upstroke
Overturn – It is just the anti-thesis of the under turn and starts with an upstroke that curves in a downwards manner.
Ovals – you make a slanted circle while going clockwise. Make sure you start at the 1’o clock position so that you get a consistent stroke.
Compound Stroke – A combination of overturn and an under turn, a compound stroke is what it sounds like. It mostly starts like and overturn but switches halfway to under turn.
Ascender – A long stroke usually reserved for letters like l, b,k,h, and starts with a thin upstroke followed by a thicker down stroke.
Descender – Usually reserved for letters like g, j, y, and z, it starts with a thick down stroke and ends with a crossover loop. The loop is thin and delicate and makes the whole thing look ornate.
Letterforms
Now that you are familiar and comfortable with the basic forms, you should move to combine different letters. This is an easier approach as each letter has already been broken down into its basic forms.
It is best that you copy the asters and see how they make their pieces come to life. When someone asks how to use calligraphy pen, it is best that they find their own path. The artistic designs available in the past used to vary from region to region but now this knowledge is available to everyone.
Resources
The internet is a great source to find out where one can get their supplies and tools for how they can perfect their craft. Many internet-based teachers do an excellent job of giving knowledge of the fundamental know-how of the trade.
A few of the most esteemed and renowned supply stores are
IAMPETH.com – also known as the International Association of Master Penmen and Teachers of Handwriting is a treasure trove of endless knowledge. They also have answers to questions like how to use a calligraphic pen.
Jon Neal Booksellers – You can get all the stock that you could need to get started on calligraphy. The people are friendly and will guide you to the best calligraphy sets that will be right for you.
The Postman Knock – It is a great stationery online shop for art enthusiasts and can easily cater to most beginners.
Calligraphy is an art form that takes time to master. Practicing an hour or so every day can yield great results in just a couple of months. One must stick with the art as they are bound to be bad in the beginning but you need to push through this to become great at it.
If anyone asks you “How to use a calligraphy pen” you can always wow them with your own calligraphic illustrations or send them here.