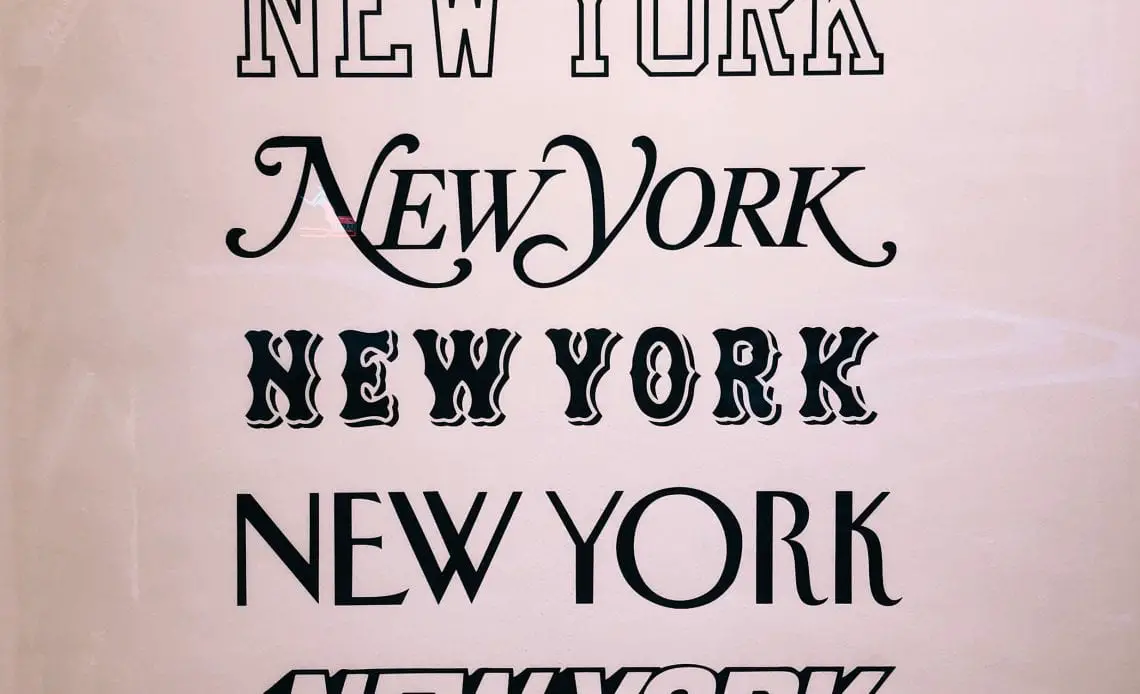
Handwritten letters can go wrong but letter stencils are a sure way to get them right every time! Letter stencils also offer you the choice to spell names, words, or even quotes. Isn’t that great? You can think of wonderful decoration ideas for walls, apparel, up-cycling old and worn-out stuff.
Letter stencils offer endless possibilities
If you are the experimenting kinds, there are hundreds of things you can try out with letter stencils. From kid’s crafts to home improvement, paper crafting to mixed media and graffiti- stencils sure come handy if you are thinking of trying something unconventional, and unique. Stenciling offers plentiful choices to create classy visual effects with paints and textured mediums. These hand or machine cut designs are fun to work with, can be homemade, custom-designed, or bought off the shelves.
Popular uses of letter stencils
Letter stencils are popularly used for labeling, up-cycling old furniture, decorating walls, DIY crafts, printing tee-shirts, creating logos, monograms etc. Stencils come in all kinds of designs and sizes. That makes them easy to use for custom designs.
There are plenty of stencil choices available in the market. You can find them with adhesives, magnetic backing, for single or multiple-use. What’s best for you entirely depends on your purpose.
What are the popularly used materials for stencils?
The beauty of most stencils is that they can be used an unlimited number of times to produce the same design or text time and again. Stencils follow a simple principle. Designs are drawn on materials like paper, acrylic, Mylar, vinyl, wood, metal. Then they are cut or burnt to create a gap in the design space to allow paint to pass through and give an exact shape of the design on another surface.
Why choose stencils for lettering?
Letter stencils have unlimited advantages over freehand lettering, the most important of them being convenience and saving a great deal of time. Customized letter stencils can reproduce the same text in the same font, style, and size repeatedly. It is extremely convenient to maintain uniformity throughout the surface where the lettering is done. The process of stencil lettering makes writing on difficult and larger areas easier.
Every stencil has open sections that are termed ‘islands’, which allow the color to pass through to the surface which is placed beneath. They also have ‘bridges’ which is the term used for the parts on the stencil that separates the islands. The bridges and islands play their parts to create designs in line with the stencil’s shape keeping colors separate and demarcating dark and light areas.
Stencils are time tested
Although stencils are now hugely popular and seem to be a thing of the modern world, their existence dates back to more than thirty-seven thousand years. They were used by the people of various Asian and European countries to create text and images on walls followed by books and clothing. Evidences show that primitive kinds of stencils were used even by the prehistoric man. Handprints drawn with pigments unearthed in Neanderthal caves in Spain prove the idea existed even then. China and Japan were the first countries to start using stencils on paper and silk. However, it was in Europe where the first letter stencils were used for printing any text that needed mass production. Gradually, playing cards, manuscripts, wall paper, and even architecture found stencils to be extremely handy tools for mass producing designs.
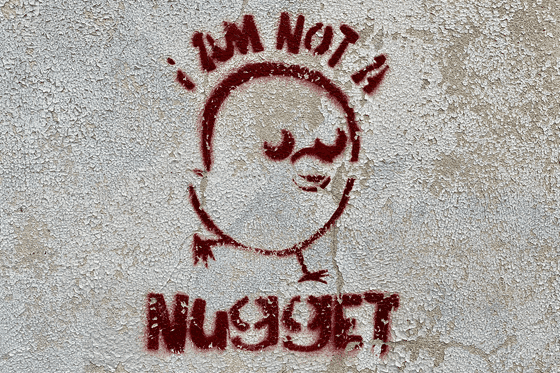
Stenciling as an art form gained popularity as it offered a simple and quick way of expression. In modern times, the simple art is undergoing various developments with new techniques like multi-layering. Stenciling art has an aesthetic appeal that has found its way in varied artwork displayed in homes, streets, art galleries, and museums. It is quickly being adapted as a well known urban art form and securing its place in the modern-day art world. Looking at the popularity, it seems stencils are here to stay for long!
Things to remember before making your own stencils
Stencil art require careful planning like any other artwork. In case you plan to make your own stencil, there are certain things you should consider beforehand.
Size matters
It is crucial to think about how big you want your stencil design to be? Will you be able to print out the design at home or do you need outside help for printing and cutting? Do you want a single large design or a small to medium size design that can be repeated to cover the intended surface?
How many colors do you plan to use
Before starting the stenciling process, it is very important to keep the color scheme in mind. Is it a monochromatic design, multi-color image, or a layered effect that you want to create? Depending on the color choice you require to plan out how to design the stencil.
What material suits the stenciling job the most?
Stencils are designed on various materials including paper, vinyl, plastic, cardboard, metal, wood etc. It is essential to decide which material works best for you before you start cutting it out. For beginners, it is better to print out the stencil design and attach it to the stencil material with the help of tape before cutting it.
How to make your own stencils?
- The first step is to decide what you want to paint and to choose a design accordingly. It is always better to select simple designs without too many intricacies. Straight lines and uncomplicated shapes are easier to cut out as compared to curved edges and intricate designs. You can hand draw, use a photograph, or take a design off the internet. In case you decide to draw your own design, keep the lines thick as it will be helpful while cutting. If you choose to go with an image or a photograph, imagine how it will translate into a stencil design.
- Next, choose the material for your stencil. It can be paper or vinyl. If you have an ink jet printer, the design can be directly printed on the vinyl surface. In case, you are using a laser printer, it is safer to take the printout on paper to avoid any melting or shape distortion of the stencil due to heat.
- Print out the design or draw it with your hands if you want to develop a completely customized stencil design. Depending on the size of your stencil, you can either use your home printer or take the help of the local printing shop.
- Use a sharp stencil cutter, utility knife, or a blade over the lines which have to be cut out and removed from the design to create blank space on the stencil. For convenient cutting, you can use low tack tape to keep the stencil in place.
- Preserve any cutout part which you may require later to finish your design.
- When the stencil is ready, put it on the surface where you intend to put the final design. Lay it flat to get a crisp finish with clean and sharp edges. To ensure stability, place the stencil in the desired position and tape it with a low tack tape.
- Now, use the paint medium of your choice. You can apply it with a sponge, stenciling brush, roll it on or use a spray can. The entire time while you apply the paint, make sure not to lift any part of the stencil.
- If you plan to use multiple layers of color, heat-set, and dry the first layer before applying the next.
- Lift the stencil carefully and wash it immediately if it is a reusable material.
Some helpful stenciling tips you can use
– Every form of art has a proper technique. If you are new to stenciling, it is advisable to try out a practice session before you start working on the intended surface.
– Some common problems faced while working with stencils is paint bleed, application of excessive paint, blurry and jagged images. With a sample test, you can always discover flaws and find out ways to correct them in your final work.
– Prepare the surface before any stenciling work.
– While stenciling on glass or metal, wipe the surface clean to get rid of any dust, dirt, and oily substance. When working on wood, sand the surface and use a damp paper towel to remove any sawdust. Choose a stencil with a natural look rather than a detailed design, when working on a textured surface.
The proper way of storing stencils
There are use and throw stencils and reusable ones. If you plan to keep your stencils for later use, you have to take good care of them. Make sure you keep them on a flat surface. The best way to keep them in good working condition is to place them between two cardboard pieces or thick paper and place them under a mattress.
Stencils are common tools for painters and crafters, and they work on almost all kinds of surfaces. It is enjoyable to create your own kind or pick ready-to-use designs from the thousands that are available in stores and online. No what’s your creative plan, design and letter stencils are a great way to start experimenting with your creativity!