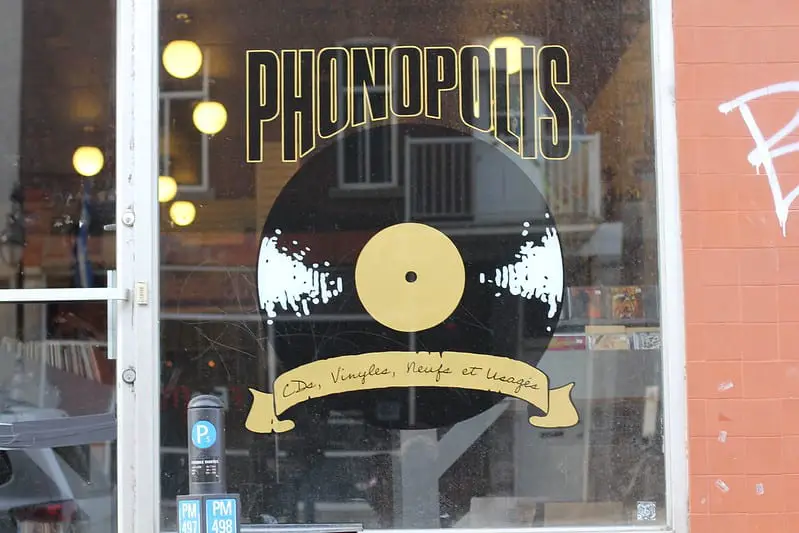
Learning the art of applying vinyl letters on glass comes handy in various situations. You can easily learn how to seal vinyl on tumblers and use this trick to customize your tableware range. You can also use similar techniques when it comes to creating window signs at a store.
Gather your supplies
To begin with, make sure that you have your lettering printed out on quality vinyl. There is usually a backing paper that helps the vinyl letters adhere to glass. And there is the guarding film that can be removed once the vinyl is applied.
· Masking tape
· Precision straight edge tool
· Level tool
· Measuring tape
· Squeegee
· Isopropyl alcohol based glass cleaner
· Microfiber glass cloth
· Dry erase marker
Preparing the glass surface
Cleaning the surface is the first step to getting the perfect finish. How do you apply vinyl lettering to glass without damaging the surface? Vinyl doesn’t damage glass surface but dust particles and remnants of previous vinyl can hamper the finish and leave streaks on the surface. Here is how to prep the glass before the application of vinyl letters.
· Scrape off any previous vinyl on the glass using a scraping tool and glass scrubber.
· Use warm soapy water to thoroughly clean the surface after removing old vinyl
· Isopropyl alcohol can remove any traces of adhesive
· Stay away from glass cleaners that contain ammonia. Residual ammonia can cause bubbles in the letters later on.
· Use a squeegee for streak-free cleaning of the glass.
· Finally, use a lint-free glass cleaning microfiber cloth to wipe the surface dry. Letting the surface stay wet can leave water stains.
How do you apply vinyl lettering to glass surface that is flat?
· The first step is to mark the position for placing your vinyl letters. You can use dry-erase markers to mark the position. Measure the height of placement. Always use the base of the letter to understand the height and not the edge of the backing paper. Measure from the frame of the glass to the base of the first letter and make a tiny marking. Repeat this for the last letter and also the center. This lets you position the quote or name perfectly in the desired height. Use the precision straight edge tool to check the straightness.
· Without removing the backing paper, place the vinyl letters on the glass.
· Double check with a level tool to prevent the crooked placement of the letters.
· Use masking tape to position the letters according to the markings made – one on each corner and one at the center.
· Start from one side and remove the backing paper half-way through. Cut the backing paper slowly without letting the vinyl touch the glass. Use the squeegee to then tightly affix the letters without any gaps or wrinkles. Always move from the center outwards in order to avoid gaps at the center. Once you are done sticking one half of the letters, tightly move the squeegee back and forth for accurate application of every corner of the letters.
· Remove the masking tape on the other side and slowly remove the rest of the masking tape working your way from the other edge.
· Once your vinyl letters are fully in place, check for any bubbles and if you are satisfied with your results, remove the protective film on the top. After peeling a little from one corner, pull down the film tightly. Do not pull it aggressively as this can lead to the letters coming off by mistake.
If you have multiple rows of vinyl letters to be applied, mark the position by measuring the distance between the letters on the corresponding rows and not the distance from the masking paper. To install a large section of lettering, you can use a similar process. But keep the tape hinges at the bottom and center. In this case, pull the backing paper from the top downward, in small sections.
When the surface is curved, how do you apply vinyl lettering to glass?
For curved surfaces like wine glasses marking the level and positioning the vinyl might feel like the trickiest tasks to do. To find the level, fill the glass with water up to the level where you want the letters to be positioned. Use the water level as the guiding line to position the vinyl letters. In the curved edge of the glass, you should be cautious about air bubble formation. Place the letters such that the gap between them is placed on the bulge of the curve so that you can trim off any excess. Also, you can make a tiny cut on the backing paper right at the gap between the letters at the point where the sheet would bend. With these simple tricks, you can apply vinyl on curved glass in the same way as you would on a flat surface.
Tips to obtain the perfect finish
How do you apply vinyl lettering to glass surfaces without any air bubbles? This part is crucial because every air bubble on the surface can affect the appearance of the sign and negatively impact the life of the adhesive.
· Make sure that you measure the space available for application and print out the vinyl accurately. Even the slightest overlap of the vinyl edge on the frame of the glass can lead to air pockets. This leads to the vinyl peeling off soon.
· Do not apply vinyl on a glass surface that is wet. Air drying can leave wet stains or marks. Use an absorbent cloth to be sure that the surface is absolutely dry.
· Always ensure that the surface is clean before application. Specks of dirt can lead to bumpy letters which do not last long.
· Make sure that you make all measurements to the actual letters and not the protective film or backing paper. Even while checking the straightness of the letters do not refer to the edge of the backing paper. The backing paper might sometimes be cut unevenly.
· Never pull off the backing tape all at once. Even if it is a small logo or a small section of lettering you want to install, remove the backing paper little by little. Smaller the area to squeegee, easier would it be to prevent air bubble formation.
· If you have to use the vinyl letters on a window that is exposed to direct sunlight choose lighter colors. Darker colors can get the glass hotter during the warm summer afternoons and lead to the degradation of the glass itself.
· There are weather-resistant vinyl stickers available in the market. For outdoor applications, these would be cost-effective options considering their durability.
· Choose a good quality vinyl that will come off without leaving any residue of adhesive when you have to remove the letters.
How to seal vinyl on tumblers and other glass surfaces
Sealing would help protect the surface of the vinyl and keep the sign looking as good as new for a really long time. How do you apply vinyl lettering to glass surfaces and tumblers and be sure that it doesn’t peel off while using? This is where the following tips on how to seal vinyl on tumblers would come handy.
How to seal vinyl on tumblers in the most affordable way? Using dishwasher safe Mod Podge! This is a sealant that imparts a subtle glossy finish to vinyl lettering and protects the surface from damage due to heat and moisture. With this, your tumblers customized with vinyl letters can go into the dishwasher without a worry.
The other effective product that comes as an answer to the question of how to seal vinyl on tumblers would be Polycrylic. As a fast-drying water-based protectant this one can eliminate the damage caused by wetness and temperature changes on vinyl.
Besides knowing how to seal vinyl on tumblers there is also the question of extending the life of the sign that is exposed to the weather elements. This is where the use of overlaminates can help. These are protective films that are nearly invisible. They stay on top of your vinyl lettering on glass window signs for making it durable.
After applying the vinyl, and the optional sealant, rub the surface with a clean dry cloth. Tiny bubbles might be hard to avoid especially when you are working with vinyl lettering for the first time. In case you spot bubbles, immediately pop them with a pin before you wipe the surface with a cloth. This will prevent the bubble from expanding and affecting the adhesion quality.
The many applications of vinyl lettering
Once you have acquired the knack of applying vinyl on to glass surface, you can easily replicate the steps and use it to decorate any surface of your choice. It can be used to create wood signs and a range of wall decor items. Vinyl lettering on glass comes handy for those who love to label their glass jars in the pantry space. Another popular application is for installing vinyl stickers on a car for styling.