Image source – Pixabay
Calligraphy, the visual art of beautiful handwriting. The term finds its roots in the Greek word, beauty (kallos) and to write (graphein). The origin of Calligraphy with brushes has its roots in the Shang Dynasty in Ancient China. All educated Chinese men and women were expected to be prolific in this art form.
Modern Calligraphy is widely used in invitation cards, as font design, typography, graphic design etc. The primary tools for a calligrapher are a pen and a brush. The pen nibs can be flat, pointed or rounded.
Want to create a beautiful piece of work? The most important tool to design an artwork is the pen. Not always, an ornate pen can make a beautiful design but the right Calligraphy pen to create magic.
Before starting with Calligraphy, it is important to understand “how to fill a calligraphy pen nib the right way”. But before we elaborate on the different methods of filling a calligraphy pen, here are some important terms to know:
Cap: It covers the nib and attaches to the pen body.
Barrel: The long part of the main body of the pen which houses the ink reservoir.
Nib: The metal tip of the pen
Section: The part of the pen where the nib fits in and attaches to the pen barrel.
Converter: A small filling mechanism that fits onto a pen that also accepts a cartridge.
Ink Reservoir: A cavity inside the pen that holds ink.
The nib, the ink and paper being used are three of the most important factors in Calligraphy. The nib is responsible for the style of the characters. The Ink will determine the fluidity of the writing and finally the paper shouldn’t blot or feather the imprint.
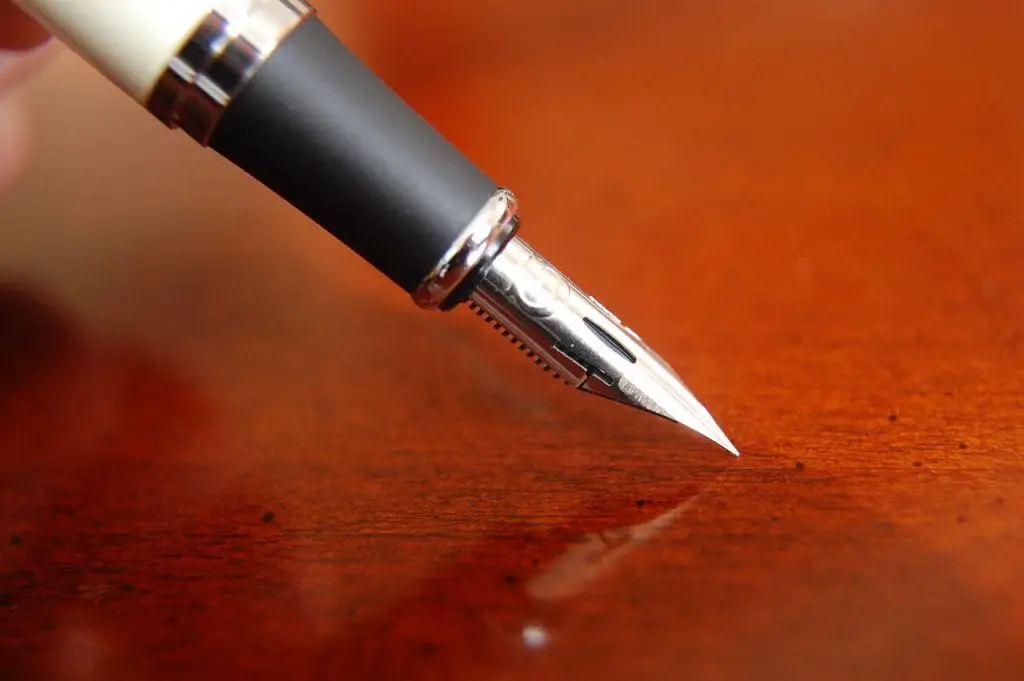
Image source – Pixabay
Filling a calligraphy pen the right way depends on the make and style of the pen.
Following are the steps to identify the mechanism of the pen:
- Open and identify your pen. Pull the cap off the pen to reveal the nib. Be careful while opening the pen because the nib is sharp.
- Screw off the barrel counter clockwise to unveil the cartridge housing.
- Examine the inside of the pen to decide on the filling method.
Once the foiling method is discovered, it is time to fill ink in the calligraphy pen the right way.
Following are the various filling methods depending on the style of the pen :
- Filling by a cartridge
- Filling by ink bladder
- Filling with squeeze converter pen or piston pen
- Filling an eye dropper pen
- Paintbrush method
- Filling other types of calligraphic pens
1. Filling by a cartridge:
Cartridges are the simplest and effective way of filling a calligraphy pen. They are compact, easy to use and are mess free.
Find the right cartridge size for the pen. Most often pens have standard size of the cartridge but some specific brands may have a customized size. Remove the cartridge by pulling it out from the grip section.
Remove the converter if its present by pulling it form the grip section similarly to the cartridge. Insert a new cartridge by simply pushing it gently until it is firmly inserted and you hear a click sound. Place the pen vertically with the nib pointing down for the ink to flow in. It may take few hours for the nib to saturate and the ink to flow smoothly.
2. Filling by Ink Bladder:
Ink bladders are rubber sacs which hold the ink. There are 2 types of bladders in use today. We will examine each individually. The ink filling in each method is a little different.
Standard Ink Bladder: A standard Ink bladder of a calligraphy pen comes with a metal bar over the rubber bladder. Press the metal bar to force the air out of the sac. Release the metal bar gently to create a suction effect within the sac. This pulls the ink from the reservoir into the sac.
The right way to use this bladder is to dip the nib completely into the ink reservoir and then press the metal bar. Air coming out of the sac can be seen in the ink reservoir in the form of bubbles. Now the metal bar is to be slowly released and the ink is pulled into the sac. Once the ink is filled, remove the nib from the ink reservoir. Clean the nib by gently blotting the excess ink of the tip with the help of blotting paper or a lint free cloth.
Crescent Ink Bladder: In a crescent ink bladder there is a crescent attached to a metal bar. The crescent portion protrudes out from the pen through a slot and the pressure bar inside the barrel. Another component in the form of a C-shaped rubber ring is situated between the barrel and the crescent. When in use, this ring prevents the crescent from pushing down on the internal sac.
To fill the bladder with ink, turn the rings around the barrel in such a way that the crescent is in line with the hole in the ring. Once in this position, push the crescent down to squeeze the internal rubber sac. Immerse the nib inside the ink reservoir for filling ink. Once inside, the crescent needs to be pushed down, creating a similar vacuum as seen in a standard ink bladder.
3. Filling with squeeze converter pen or piston pen:
Gently push the converter into the grip section. Insert the pen into the inkwell until it is fully submerged till the grip section. The vent hole has to be underneath the ink.
For filling with a squeeze converter, squeeze the side of the pen. Very slowly the grip on the converter needs to be released, to allow the suction to fill the ink into the pen. This process needs to be repeated till there is no bubbles in the ink bottle and the ink fills the pen.
If using a piston, then, turn the converter to the right to push air out. Turn it again in the other direction to allow the tube to suck the ink. Take the nib out from the ink reservoir, and twist it anti-clockwise until a few drops of ink come out. The pen is now ready for writing.
4. Filling an eye dropper pen:
Another mess free approach to fill a calligraphy pen is to opt for an eye dropper or a pipette. Dip the pipette into your ink recipient and allow it to fill completely. Then very carefully transfer the ink into your barrel with a slight squeeze of the pipette. Place the grip-section on the barrel and screw it in. Keep the nib pointing down, this will help a few drops of ink to come out of the feed and help prime your pen.
5. Paintbrush method:
Another method employed to fill ink into a calligraphy pen is by using a paintbrush. First, load the ink into the bristles of the paintbrush by dipping it into the ink. Then the tip of the nib must be in gentle contact with the blob of ink on the paintbrush. The empty ink chamber of the calligraphy pen will automatically suck the ink in. This also ensures that the edges of the nib remain ink free, removing the need to wipe it clean.
6. Filling other types of calligraphic pens:
Other not so common ways of filling ink in some custom Calligraphy pens:
Calligraphy pens with a vacuum filler: These pens have a plunger built into the pens which when pulled creates a vacuum in the internal sac. Insert the plunger back into the pen so that the vacuum breaks around the middle of the pen allowing the ink to flow in.
Calligraphy pens with a lever filler: Some pens have a lever built into the middle of the pen for the sole purpose of compressing the internal sac. When the lever is pulled the internal ink sac is pushed in and when the lever is released it starts the suction process of pulling the ink in. This process might have to be repeated a few times until the barrel on the pen is filled with ink.
Calligraphy pens with a button filler: Some pens come with a button on the rear end which when pressed, compresses the sac. Release the button with the nib immersed in the ink to pull the ink in.
Many people are taking up Calligraphy as a profession or as a hobby. For beginners, the pen might seem like a new tool. Like a sword is to a warrior, the Calligraphic pen is the main weapon to a calligrapher to create beautiful letters. So, it is imperative to first know the various methods of filling the calligraphic pen before diving into the world of visual art. Once you know the method of filling the Calligraphic pen, practice to master this form of art.