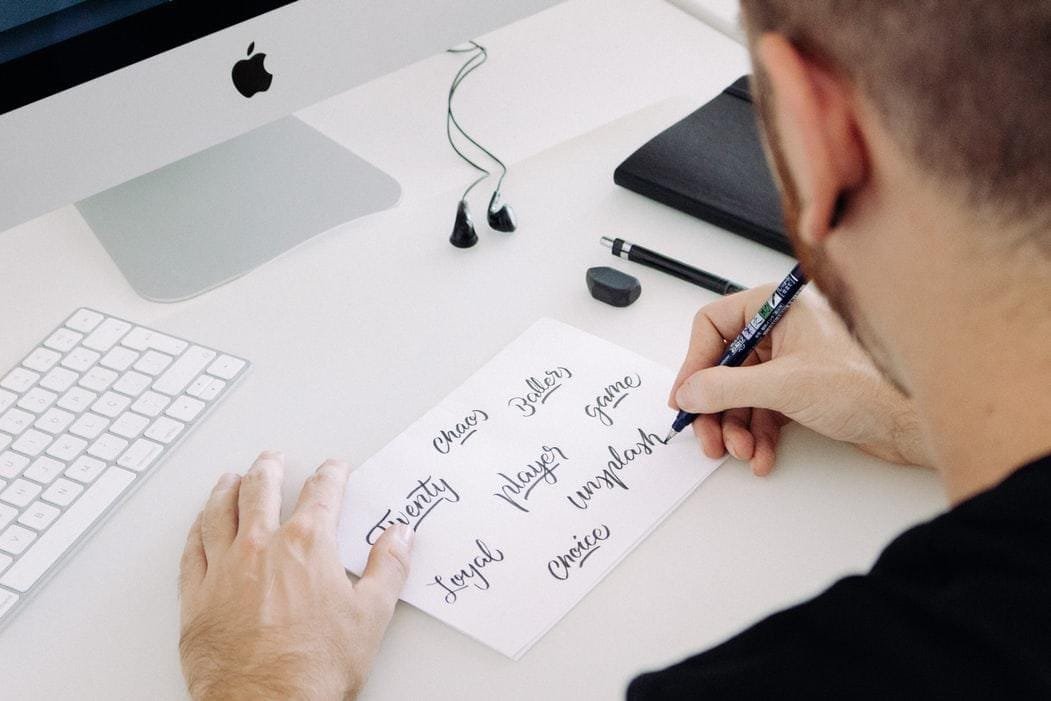
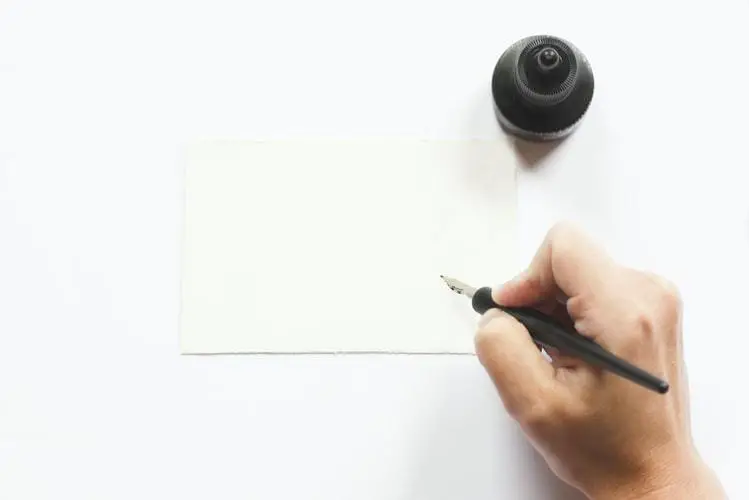
Calligraphy is the art of beautiful handwriting. Typically, calligraphers use special calligraphy pens or ink brushes to create beautiful art pieces.
If you are a beginner and do not have a calligraphy pen, can you write calligraphy with a normal pen? Yes, you can. That is exactly where faux calligraphy comes in. Faux calligraphy is nothing but calligraphy created with a normal writing instrument like a regular pen, chalk, marker, or crayon.
How do you make faux calligraphy?
Faux calligraphy is a pretty simple but a super fun way for beginners to practice calligraphy. Traditional calligraphy requires special tools. Faux calligraphy is a fun way to imitate the look of words created by these special tools.
Tools you need for faux calligraphy
To do faux calligraphy, you need some easily available tools like:
- A regular pen
- Paper
- Rolling ruler, as it makes drawing guidelines easier
- Mechanical pencil
- Eraser
Steps to do faux calligraphy:
1. Draw your guidelines
Use your rolling ruler and a mechanical pencil to draw your guidelines. Guidelines will ensure consistency in your writing. You are free to decide the angle of your slant lines. The first rule of faux calligraphy is to ensure that your letters follow these guidelines.
2. Write your words
Use a mechanical pencil or any regular pencil to start writing the words in calligraphy strokes. In the beginning, the words should be in a monoline. Remember to leave adequate space between each letter and between any two words. You will need space for your downstrokes.
Go slow. Take your time to try and get every letter right. Remember to follow your guidelines so that your letters have the same height and angles. Don’t worry about making mistakes. That is why it is recommended to use a pencil first so that you can easily fix your mistakes.
3. Identify the downstrokes
Writing calligraphy is the skill of combining downstrokes and upstrokes. Downstrokes are thick, while upstrokes are thin. It is recommended to add the downstrokes to the inside of the letters.
4. Fill in the letters
After you have sketched out the letters, it is time to ink the letters and fill in the downstrokes. It may take some practice before your letters start looking perfect.
5. Erase the pencil marks
Wait till the ink has completely dried off, use an eraser to get rid of the pencil marks.
Things to remember for faux calligraphy
There are some fundamental rules that you must remember before you start writing. If you understand the basics well, you will gradually improve and expand your skills.
Here are some things that you must remember while practicing faux calligraphy:
- Basic strokes
Faux calligraphy is basically how well you combine upstrokes and downstrokes. Upstrokes or strokes going up are thin, while downstrokes or strokes going down are thick. There are 8 basic strokes that you can combine to form almost all letters of the lowercase alphabets. Practicing these 8 basic stokes will help you achieve a cleaner and consistent look in your calligraphy.
- Go slow
Going fast will not do you any good when practicing calligraphy. Beginners often feel that by going fast, they will learn more in less time. Nothing can be more wrong. Your letterforms will get better and your strokes will get sharper if you go slow. The art of calligraphy is not about going fast. Instead, it should help you relax and wind down.
- Pause between strokes
When you pause between strokes, you get even spacing between your letters. It also helps you with your letterforms building up your muscle memory. When you are practicing calligraphy, pause between each stroke or lift your pen.
Remember, calligraphy and cursive writing are not the same things. When you are writing cursive, you tend to write continuously and fast. However, when practicing calligraphy pausing between strokes will help you get better thin and thick strokes. These strokes are what differentiates cursive from calligraphy.
- Hold your pen correctly
Yes, you can write calligraphy with a regular pen, however, you cannot hold the pen like you normally would. You must hold your pen loose. Holding it too tight will tire your hand faster. Also, you would not be able to move your pen freely.
When holding your pen, hold it at a 45-degree angle from your paper. Holding it this way will help you master your strokes as well as get a smoother transition between them. Also, make sure that you hold the pen a little bit away from the tip. Find a grip that is comfortable for you while remembering these tips. Practice regularly and you will get used to the grip more and more.
- Be careful of the pen pressure
When writing calligraphy, how much pressure you put on your pen is as important as how you hold your pen. Cursive writing and modern calligraphy differ in the variation and width of the strokes.
It is recommended that you keep your hand light when moving the pen upwards for your upstrokes. You need to be heavy-handed when doing your downstrokes. When you apply light pressure on your upstrokes, you are able to get those thin, hair-like strokes. Since downstrokes are thicker, heavy pressure helps you achieve the desired thickness. The more pressure you apply, the thicker your downstrokes will be. Vary the pressure according to the thickness that you desire. Be careful, however, not to poke a hole in the paper.
- Sit in a comfortable position when practicing calligraphy
The importance of the posture of your body when practicing calligraphy cannot be stressed enough. Find a comfortable position while keeping your back straight. Your desk should neither be too high nor too low. It is okay to adjust your paper and your posture from time to time for greater consistency in lettering.
It is also important to take breaks in between. Do not go for more than an hour without taking a break. Practicing without a break is not as useful as you may like to think. A quick break or a stretch will do you wonders when doing calligraphy.
- Put a date on your practice sheets
You may practice on multiple worksheets. However, has it ever occurred to you to put a date on your practice sheets? It may not seem very important but it is an excellent way to track your improvement.
We are often our worst critics. If you ever feel that you are not improving much, go back to your beginner sheets. You are bound to see improvement.
- Keep a record of your work
You may not be able to save every piece of calligraphy work. However, it is a great idea to click a photo and save it in a folder on your computer. It may sound trivial but it can be great for reference in the future. If you are happy and confident about your work, you may also share it on Facebook and Instagram. The compliments you get will definitely boost your confidence.
Conclusion:
The only way to improve your calligraphy skills is through regular practice. If you are really interested in learning the art, it is a great idea to set aside some time every day to practice it. All you need is a regular pen and paper.